

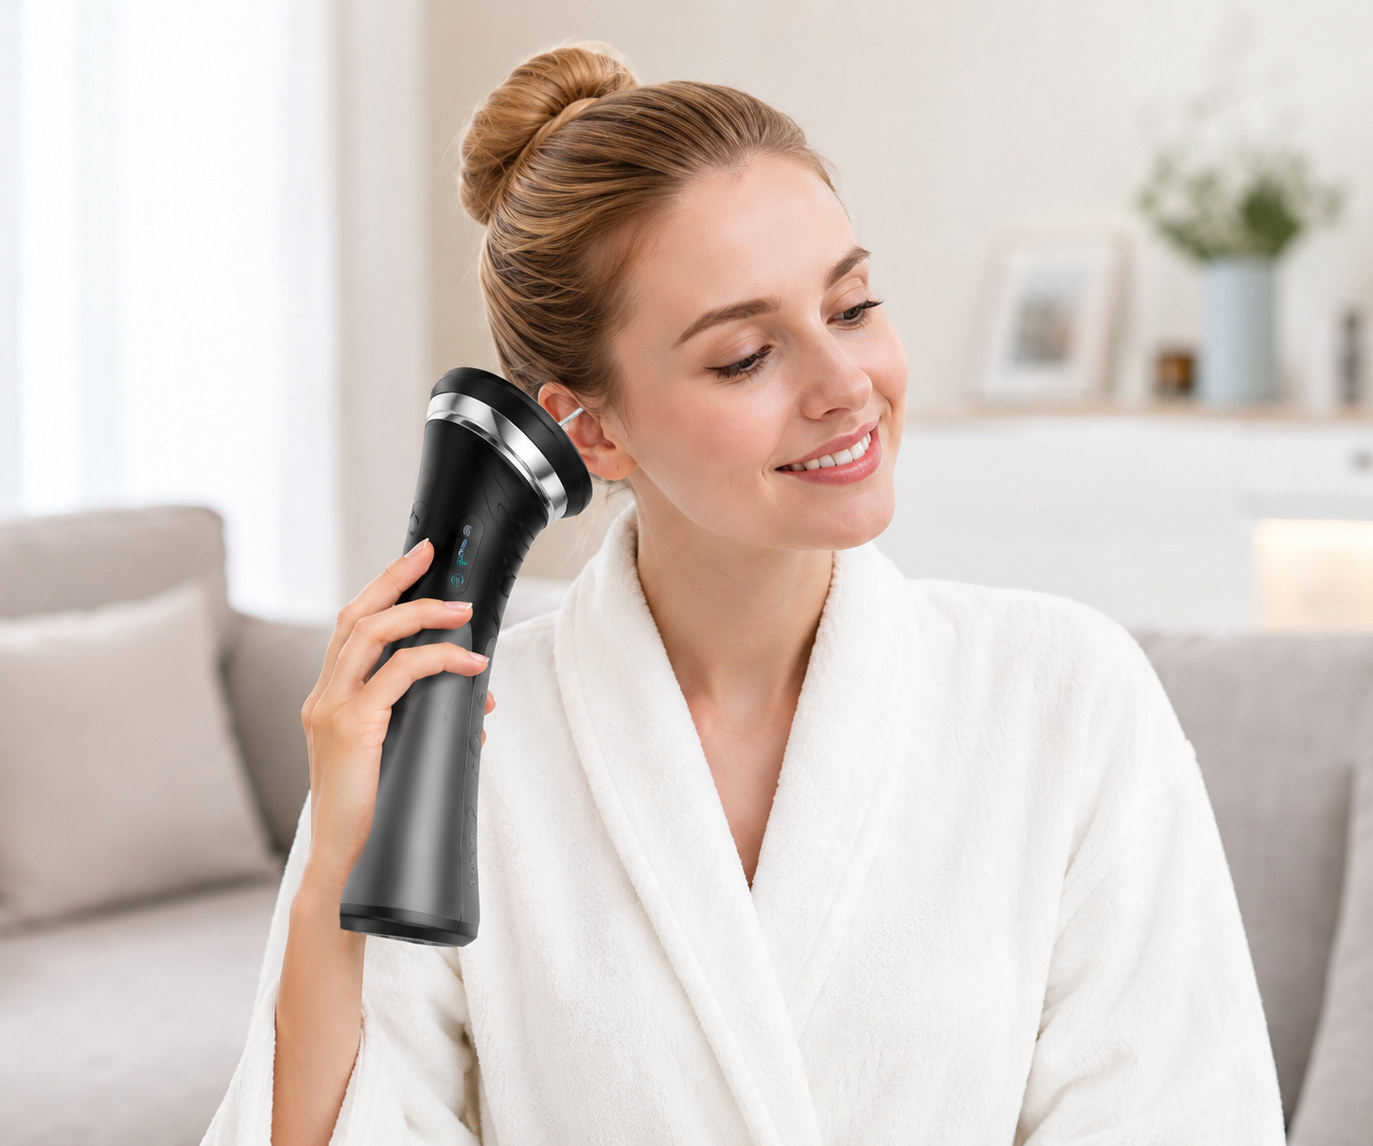
Understanding Your PICLEEN E80 Device
The PICLEEN E80 comes equipped with thoughtful features designed for safe and customizable ear cleaning, making it suitable for both first-time users and those with regular ear hygiene needs.
Key Components
- Three Nozzle Options: 1-hole, 3-hole, and 5-hole nozzles (easily identified by counting the openings at the tip)
- Pressure Adjustment Settings: 3 levels (L for low, M for medium, H for high) to match different comfort levels
- Ergonomic Design: Lightweight and easy to handle, ensuring stable operation during use

Nozzle Selection Guide
Choosing the right nozzle is critical for balancing effectiveness and comfort. Use the table below to select the appropriate option based on your experience and needs:
| Nozzle Type | Number of Holes | Cleaning Strength | Best For |
|---|---|---|---|
| Gentle Clean | 5-hole | Mildest | First-time users, sensitive ears, initial adaptation |
| Standard Clean | 3-hole | Moderate | Regular maintenance after 2-3 uses with 5-hole nozzle |
| Deep Clean | 1-hole | Strongest | Severe wax buildup (use only after full adaptation) |
Critical Tip: Never start with the 1-hole nozzle. The 5-hole option distributes water flow most gently, reducing the risk of discomfort or dizziness for new users.
Step-by-Step Usage Guide
Follow these detailed steps to achieve the best results while maintaining safety and comfort.
1. Preparation Before Use
- Examine Ear Condition: Ask a partner to check your ear canal for wax location and thickness.Alternatively, you can use PICLEEND's visual ear cleaner (SIPro/R2) to view the interior of your ear canal directly on a mobile app—this helps set realistic expectations.
- Prepare Water: Measure water temperature with a thermometer to ensure it’s within the 91°F–102°F (33°C–39°C) range. This matches body temperature to prevent dizziness.
- Assemble the Device: Attach the 5-hole nozzle (for first use) and fill the water reservoir to the recommended level.
- Adjust Pressure: Set the device to the lowest pressure level (L) to start.
- Choose a Comfortable Position: Sit on a chair with a towel draped over your shoulder to catch excess water.
2. During the Cleaning Process
- Tilt Head Properly: Tilt your head slightly.
- Insert Nozzle Gently: Place the nozzle at the entrance of the ear canal (never insert more than 1/4 inch deep).
- Control Water Flow: Press the spray button slowly and in short bursts (1-2 seconds each). Avoid continuous spraying.
- Monitor Comfort: Pause after each burst to check for discomfort. If you feel pressure or dizziness, stop immediately.
- Adjust Gradually: After 3-4 comfortable bursts, you can slightly increase pressure (if needed) but only if no discomfort is felt.
3. Post-Cleaning Care
- Dry Ears Thoroughly: Tilt your head to drain excess water, then gently pat the outer ear with a clean towel.
- Clean the Device: Rinse all nozzles with warm water and dry them completely to prevent mold growth.
- Store Properly: Place the device and nozzles in a dry, cool storage area away from direct sunlight.
- Wait Before Reuse: Allow at least 24 hours between cleaning sessions for ears to fully dry.
Troubleshooting Common Issues
Even with proper preparation, you may encounter minor issues. Use these solutions to resolve them quickly.
Issue 1: Dizziness, Tinnitus, or Balance Problems
These symptoms are usually temporary and related to adaptation or incorrect usage:
- Pause and Rest: Stop cleaning immediately and sit upright until symptoms subside (typically 1-2 minutes).
- Check Water Temperature: If symptoms recur, recheck water temperature—cold or hot water is the most common cause.
- Switch to Gentler Settings: Revert to the 5-hole nozzle and lowest pressure, even if you previously used a different setup.
- Shorten Sessions: Reduce each cleaning session to 1 minute per ear and take longer breaks between uses.
Issue 2: No Visible Wax Removal Results
If you don’t see results after the first use, try these adjustments:
- Use Ear Drops First: Apply over-the-counter ear wax softener 15-20 minutes before cleaning—this breaks down hard wax for easier removal.
- Adjust Nozzle/Pressure: After confirming no discomfort, switch to the 3-hole nozzle and increase pressure to Pulse (P).
- Check for Clogs: Inspect the nozzle for debris—run it under warm water to clear any blockages.
- Repeat Gently: Try 2-3 more short bursts, focusing on different angles (without inserting deeper).
Issue 3: Water Pressure Too Strong or Too Weak
- Control Button Pressure: For weaker flow, press the button more slowly; for slightly stronger flow, press with slightly more force (avoid rapid pressing).
- Verify Nozzle Selection: Ensure you’re using the correct nozzle—accidentally using a 1-hole nozzle when expecting gentle flow causes sudden high pressure.
- Check Reservoir Level: Low water levels can cause inconsistent pressure—refill the reservoir if needed.
- Clean the Valve: If pressure remains weak, check the water inlet valve for debris and clean it with a soft brush.
Safety Precautions
Protect your ear health by adhering to these non-negotiable safety rules:
- Temperature First: Always confirm water temperature before use—extreme temperatures can damage ear tissue.
- No Overuse: Limit cleaning to once every 1-2 weeks—over-cleaning strips the ear of protective natural wax.
- Avoid Deep Insertion: The nozzle should never touch the inner ear canal—stick to the entrance only.
-
Medical Contraindications: Do not use if you have:
- A perforated eardrum
- Recent ear surgery (wait at least 6 weeks)
- Active ear infection
- Hearing implants
- Child Safety: Keep the device out of reach of children under 12. Adult supervision is required for teenage users.
Frequently Asked Questions
Q: How long does it take to see results?
A: Most users notice improved hearing and reduced fullness within 1-2 hours of cleaning. For severe buildup, it may take 2 sessions (separated by 24 hours) to see full results.
Q: Can I use distilled water instead of tap water?
A: Yes—distilled water is a great option for users with sensitive skin or hard water, as it reduces mineral buildup in the device.
Q: What if wax is pushed deeper into the ear?
A: This rarely happens if you use short bursts. If it occurs, stop using the device and use ear drops for 2-3 days to soften the wax before trying again (with lower pressure).
Q: How do I know when to replace the nozzles?
A: Replace nozzles every 3-4 months with regular use, or immediately if you notice cracks, discoloration, or reduced water flow.
Conclusion
The PICLEEN E80 Electric Ear Wax Removal Device is a game-changer for at-home ear hygiene—when used correctly. By starting with the 5-hole nozzle, using properly temperature-controlled water, and following the step-by-step guide, you can enjoy safer, more effective ear cleaning than traditional methods.
Remember: Patience and gradual adaptation are key. Rushing to use stronger settings or nozzles increases the risk of discomfort. With consistent, careful use, you’ll maintain healthy ears and clear hearing for years to come.
If you encounter persistent issues or have questions beyond this guide, contact our customer service team for personalized assistance. Your ear health is our priority.
Ear Hygiene as Self-Care: Why It Belongs in Your Daily Wellness